Setting up Wi-Fi
Your iPhone can connect to the Internet not only via your cellular data network but via a Wi-Fi network. Cellular providers limit the data amount that you are allowed to use. In addition, you can sync iCloud to your iPhone as well as update to newer iOS only through Wi-Fi. As the most basic function of iPhone users, this section introduces how to connect a Wi-Fi network on your iPhone.
Open the "Settings" app
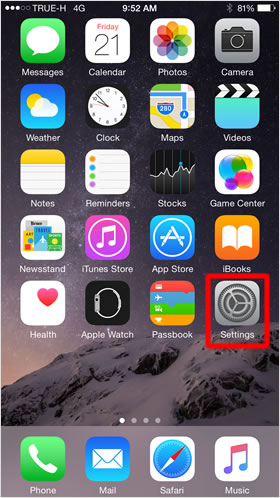
On the Home screen, tap "Settings".
Tap "Wi-Fi"
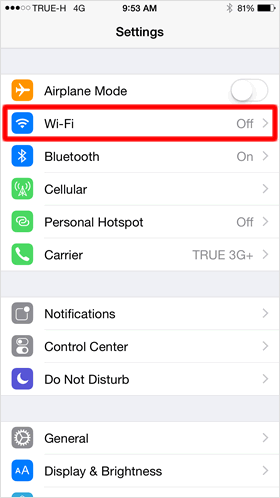
Next, Tap "Wi-Fi".
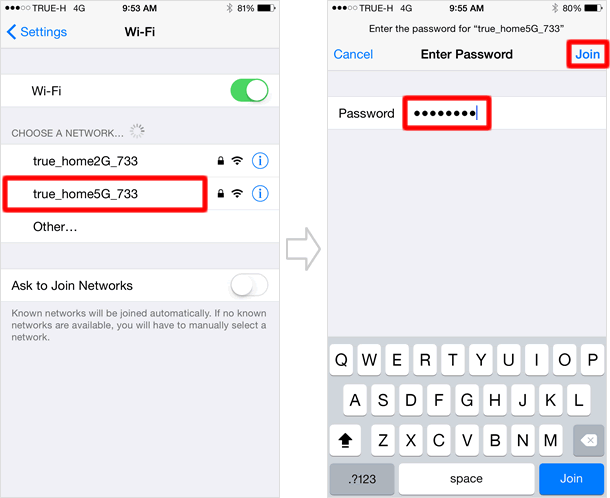
Wi-Fi networks will be listed
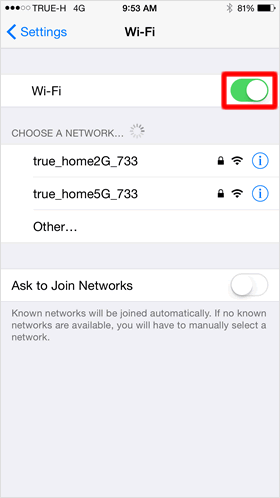
The Wi-Fi screen will appear, and toggle the Wi-Fi switch to turn it on (when it's green, it's on). Then, under the CHOOSE A NETWORK section, detected Wi-Fi networks will be listed.
The password-protected networks have a lock icon next to the name of the network.
Connect to Wi-Fi network
Tap the name of the network that you would like to join. On the next screen, enter the password. Then, tap "Join" to complete the setup.
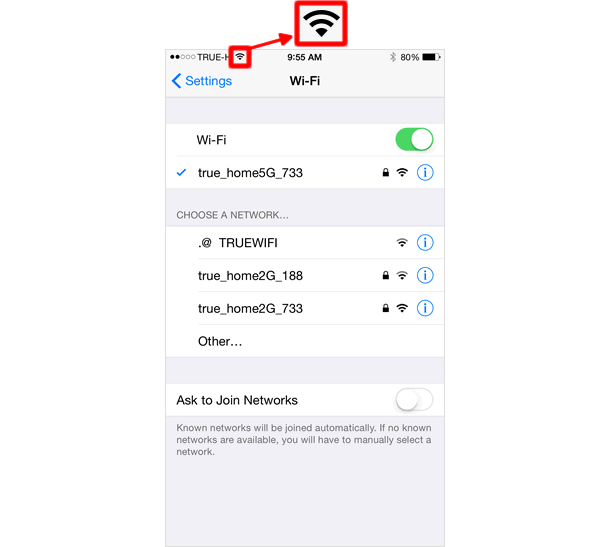
Connection complete
When the Wi-Fi is connected, you will see the Wi-Fi signal strength icon at the top of the screen next to your carrier name.
Once you have a Wi-Fi network available, you will be automatically connected to the network when you are within the range of the network.
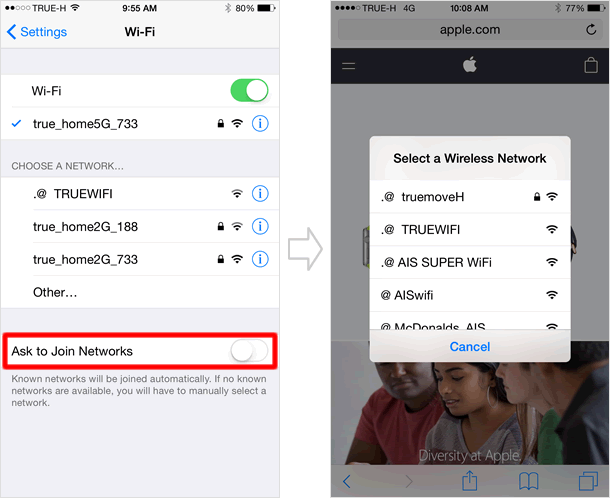
However, when "Ask to Join Networks" is on at the Wi-Fi screen and whenever your iPhone is in the range of an available Wi-Fi network, a pop-up notification will appear on the screen to prompt you to select an available Wi-Fi network.
So, if you use your iPhone while walking, driving or riding in a train, you will often see the notification coming up. Thus, it is recommended that you turn the feature off before you find it very annoying.