iPhone 6 activation and initial setup
When you purchase your new iPhone 6 or initialize the existing one, even with the power on, it cannot be used without activation and initial setup, which are required to use the full functions of the device. Some processes skipped in the following initial setup procedures can be set up at a later time.
Turn on iPhone
First, to power on your iPhone, press and hold the Sleep/Wake button on the right side of your iPhone.

Slide to set up
Swipe to the right where it says [slide to set up] at the bottom of the screen. The slider, with the words [slide to set up] in the left image, will rotate among different languages.
Language

Choose your language from the choices.
* To change the setting later, tap: [Settings] > [General] > [Language & Region] > [iPhone Language]
Select Your country or region
Select the country or region where you are using your iPhone.
* To change the setting later, tap: [Settings] > [iTunes & App Store] > [Apple ID] > [View Apple ID] > [Country/Region] > [Change Country or Region]
Choose Wi-Fi network
Choose a Wi-Fi network, and enter the password. Then, tap [Join]. If a Wi-Fi network (or your carrier's cellular connection) is not available, tap [Connect to iTunes] at the bottom left of the screen to proceed with the setup. Once your network is set up, your iPhone will begin activation.
* To change the setting later, tap: [Settings] > [Wi-Fi]
Location Services
The Location Service is needed to use Maps and Siri, as well as many of the other apps, so, tap [Enable Location Services] to turn it on.
* To change the setting later, tap: [Settings] > [Privacy] > [Location Services]
Set up iPhone
If you want to transfer data from your old iPhone to the new iPhone 6, choose [Restore from iCloud Backup] or [Restore from iTunes Backup].
If you are a new iPhone user, tap [Set Up as New iPhone].
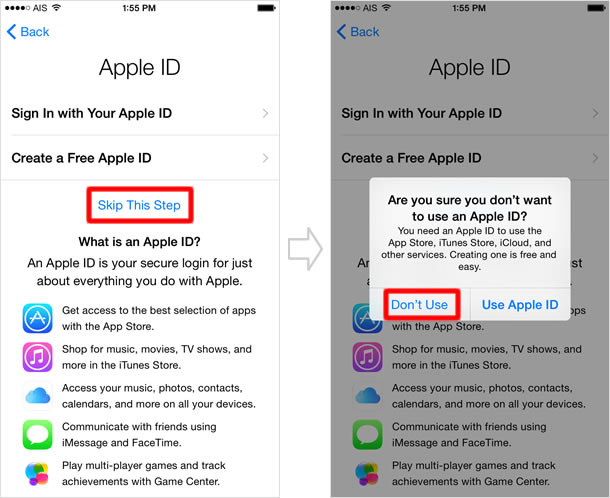
Apple ID
If you have an Apple ID, sign in with it here. If you don't, tap [Create a Free Apple ID],
or create it at a later time when all the setup is done.
Using iPhone from now on, Apple ID will be absolutely required anyway. For now, tap [Skip This Step], and then [Don't Use] to go to the next step.
* To change the setting later, tap: [Settings] > [iTunes & App Store] > [Create New Apple ID]
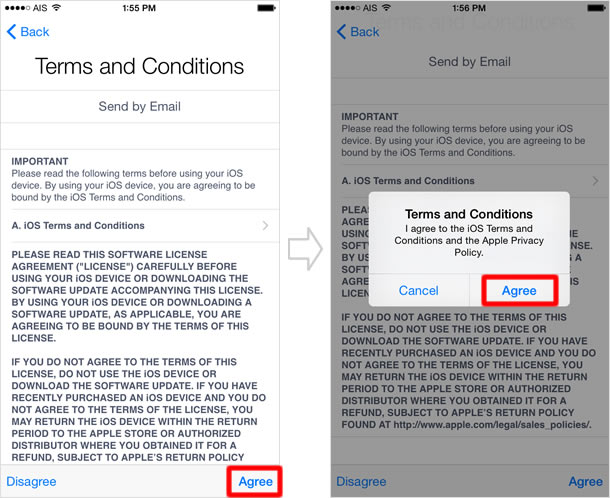
Terms and Conditions
Read through the Terms and Conditions, and tap [Agree].
Touch ID
To set up "Touch ID", a fingerprint identity sensor, place your finger on the Home button, and then your iPhone will start scanning your fingerprint.
For now, tap [Set Up Later] to go to the next step.
* To change the setting later, tap: [Settings] > [Touch ID & Passcode] > [Add a Fingerprint]
Create passcode
You can lock your iPhone by setting up a passcode. To create it, enter a 4-digit code. For now, choose [Don't Add Passcode] to go to the next step.
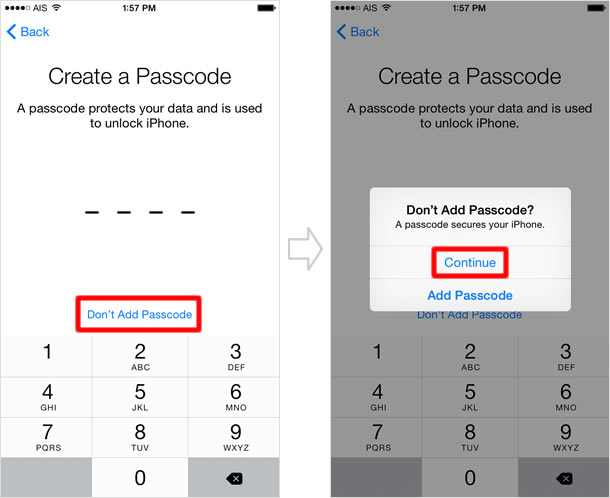
* To change the setting later, tap: [Settings] > [Touch ID & Passcode] > [Turn Passcode On]
Set up Siri
Siri enables you to command your iPhone with your voice. In iOS 8, Siri has been further developed. Tap [Use Siri].
* To change the setting later, tap: [Settings] > [General] > [Siri]
Diagnostics
To help Apple improve its services, your iPhone can send diagnostic and usage data to Apple. Generally, choosing [Don't Send] would be fine.
Display zoom
The iPhone 6 and the iPhone 6 Plus have come with large displays, so, you can now set a zoomed view in them to allow you to see more detail. When you choose [Zoomed] on the iPhone 6, the display is scaled to the same dimension as the 4-inch iPhone 5's and 5s's. On the iPhone 6 Plus in the [Zoomed] mode, the display is scaled to the same dimension as the iPhone 6's.
Tap [Choose a View] to select either [Standard] or [Zoomed], and then tap [Next].
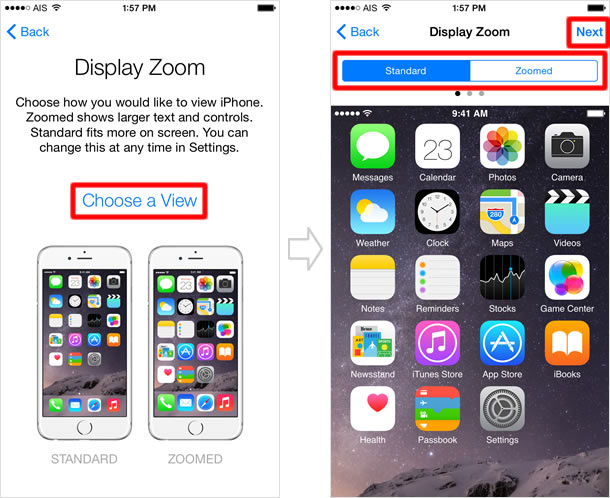
* To change the setting later, tap: [Settings] > [Display & Brightness] > [View]
Welcome to iPhone
Get started.
Home screen
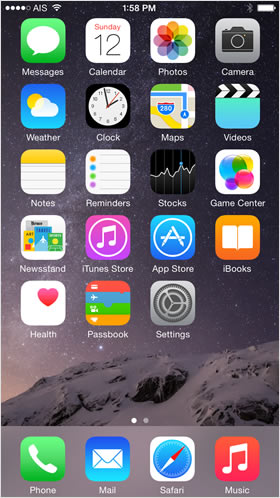
This is the Home screen that you will see every day.